Paying for Facebook, TikTok and Google Ads with a prepaid virtual card
A prepaid virtual card can fund ad spend only where the ad platform accepts it. This guide covers what to check first, how to set a budget, and how to avoid surprises.
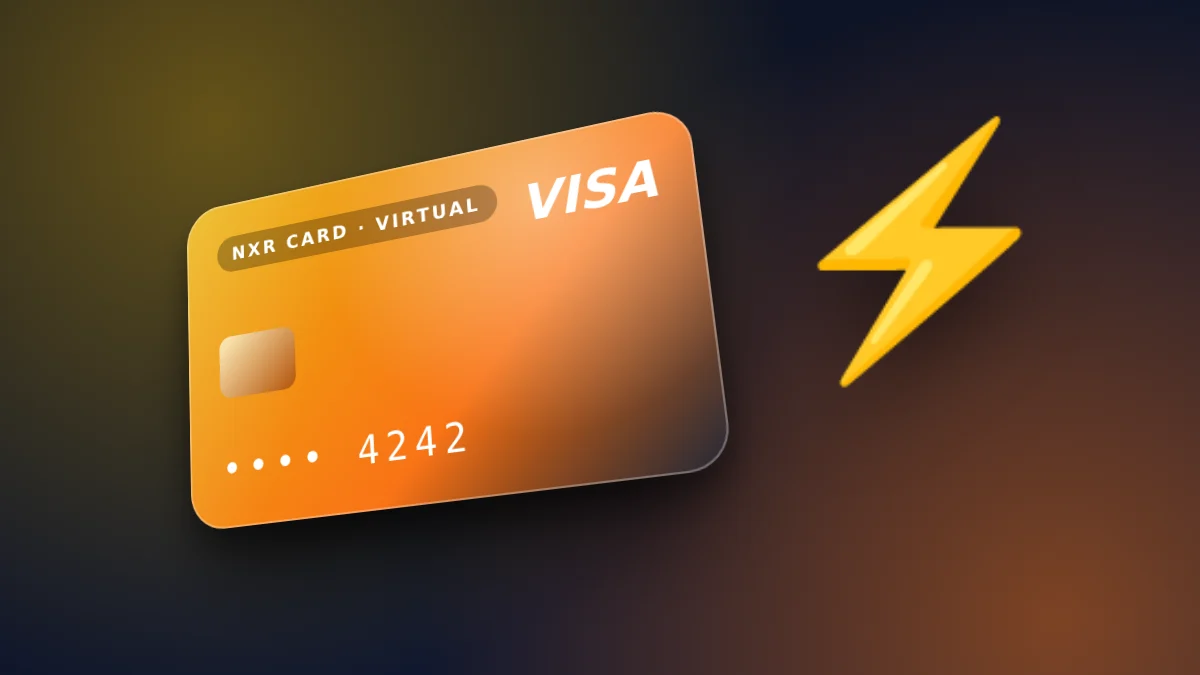
Check acceptance before you buy
Facebook, TikTok and Google Ads each decide which payment methods they accept in each account and each country. A prepaid virtual Visa card can work for ad billing where the platform accepts Visa, but the store cannot promise that. Before you fund a card, open the payment settings of your ad account and look at the methods listed there.
If the platform refuses the card, that decision is the platform's. The store does not guarantee acceptance at any merchant or ad platform, so plan for a second payment method if a campaign cannot pause.
Set a budget that matches the campaign
A prepaid card spends only the balance you load. That makes it simple to set a budget: load what one campaign needs for one week, and nothing more. The first top-up is $10, and $4 of it is the card price, so the spendable balance you start with is $6. Load more when the campaign shows it is working.
Keep one card for one kind of spend. If Facebook, TikTok and Google Ads all run from one card, it is harder to see which platform used what. Two or three cards, each with a clear purpose, make the records easier to read.
Watch the spend and the top-ups
Each top-up is shown on the order page before you pay, including the network and the amount. Check the balance in your account before a large campaign, and top up before it runs out rather than during a live campaign.
Platforms can also take a payment that is larger than the next campaign day expects. Keep a small margin on the card, and review the charges in the ad account after each week.
Setting up the account before the first campaign
Before a campaign goes live, set the payment method in the ad account and check that it is saved. Platforms often ask for a card to be confirmed with a small charge. Expect that check, and make sure the card has enough balance for it, along with the first campaign day.
Name the card in your notes by its campaign or purpose, and record the date you funded it and the amount. When a platform shows a charge, you can match it to the right card quickly. A simple spreadsheet with four columns, date, card, amount and purpose, is enough for most small teams.
Agencies and freelancers who manage several clients should use a separate card for each client account. That keeps each client's spend separate, makes invoices easier to explain, and limits the damage if one account has a problem. The store does not limit how many cards an account can hold, so the decision is about your own records.
Reading the charges and reconciling spend
Ad platforms show charges with a date, a campaign name and a currency. Match each charge to the card you funded for that campaign, and compare the total with the balance you loaded. A difference is normal when a campaign ends with budget left over, but a difference that cannot be explained should be checked with the platform.
Reconciling once a week is enough for most campaigns. Write down the total spend, the balance left on each card, and any charge that surprised you. Those notes make the next funding decision faster, and they are useful if a platform asks you about a charge.
The steps
- Check the payment settings of your ad account and confirm that the platform accepts Visa cards.
- Buy the card and fund it with a balance that matches one campaign or one period.
- Add the card to the ad account only where the platform allows it.
- Top up the card again when the balance runs low, and check the spend each time.
Prices and fees
| Virtual card price | $4 ($1 issuance + $3 network and secure payment processing) |
|---|---|
| First top-up (total) | $10 |
| Card price taken from first top-up | $4 |
| Spendable balance after first top-up | $6 |
| Other fees added later | None |
| Network | USDT on BEP20 |
| Identity document | Not requested |
| Instant card issuance | $1.00 |
|---|---|
| Network & secure payment processing | $3.00 |
🛡️ Zero Hidden Fees. Every dollar is shown above. The network and processing fee covers detecting your payment on the blockchain and issuing your card. The store adds no other fee later. If a technical error stops your card from being issued, the full amount returns to your wallet balance.
Can I pay Facebook, TikTok or Google Ads with the card?
Yes: we pay our own Meta (Facebook and Instagram) ads with this card. Meta decides which payment methods it accepts for each account and country, so check its payment settings and start with a small amount.
How much do I need to start?
The card costs $4, and the first top-up is $10. The $4 card price and a are taken from it, leaving $6 of balance.
Can I use one card for every platform?
You can try, but using separate cards makes the spend easier to track. Each platform's acceptance is separate.
What if a platform declines the card?
The store cannot override a platform's decision. Check the platform's payment rules, or use another payment method for that account.
Which networks can I fund the card with?
USDT on BEP20. Choose the network on the order page.
Do I need an identity document?
No. The store does not request an identity document.
Fund a card for one campaign at a time. The order form shows the amount and network before you pay.
Open the order formOrder your virtual Visa card
The card is $4. Your first top-up is $10: the $4 card price is taken from it, made up of $1 issuance and $3 network and secure payment processing, and $6 becomes card balance. No other fee is added. USDT on BEP20. No identity document is requested.
Go to the order form for the virtual card